Wanna make your kitchen cabinets shine like a pro? Start by picking high-quality acrylic latex paint—it’s like a magical spell for your cabinets! Gather tools like sturdy brushes, a smooth roller, and painter’s tape for those crisp lines. Don’t forget to clean and degloss your cabinets first! Sand them down for that glassy finish. Then, apply thin, even coats, allowing plenty of drying time. Trust me, you’ll feel like a kitchen wizard! Let’s dive deeper into each step!
What To Expect
- Use high-quality acrylic latex paint with satin or semi-gloss finishes for durability and a vibrant look.
- Thoroughly clean and degloss cabinets before painting to enhance adhesion and ensure a smooth finish.
- Sand surfaces lightly and apply a water-based primer for an even foundation before painting.
- Apply thin, even coats of paint, allowing each layer to dry completely before the next to avoid drips.
- Carefully reassemble hardware and doors after the paint has fully dried to achieve a polished and professional appearance.
Choose the Right Paint for Your Cabinets
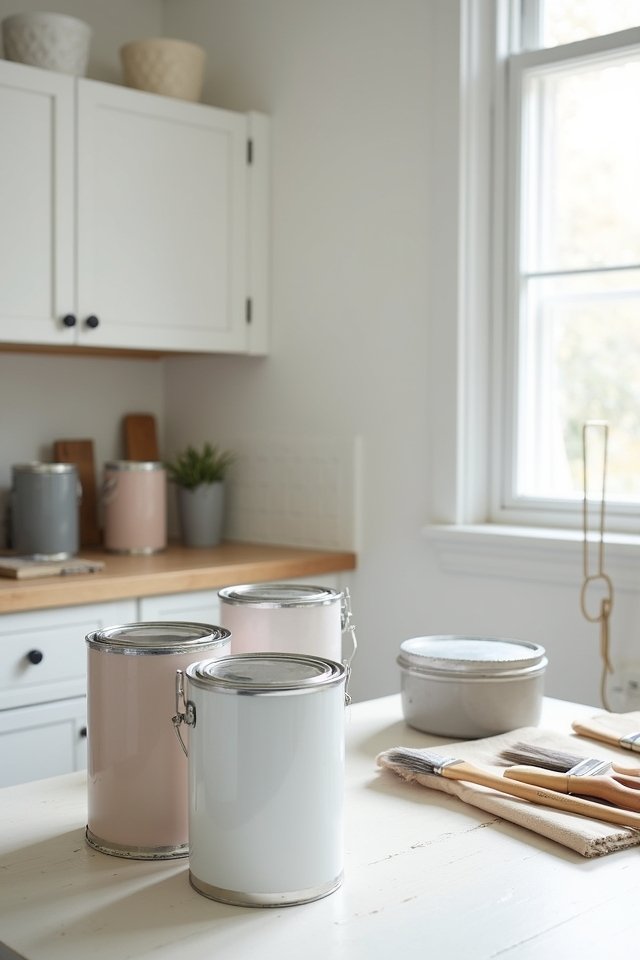
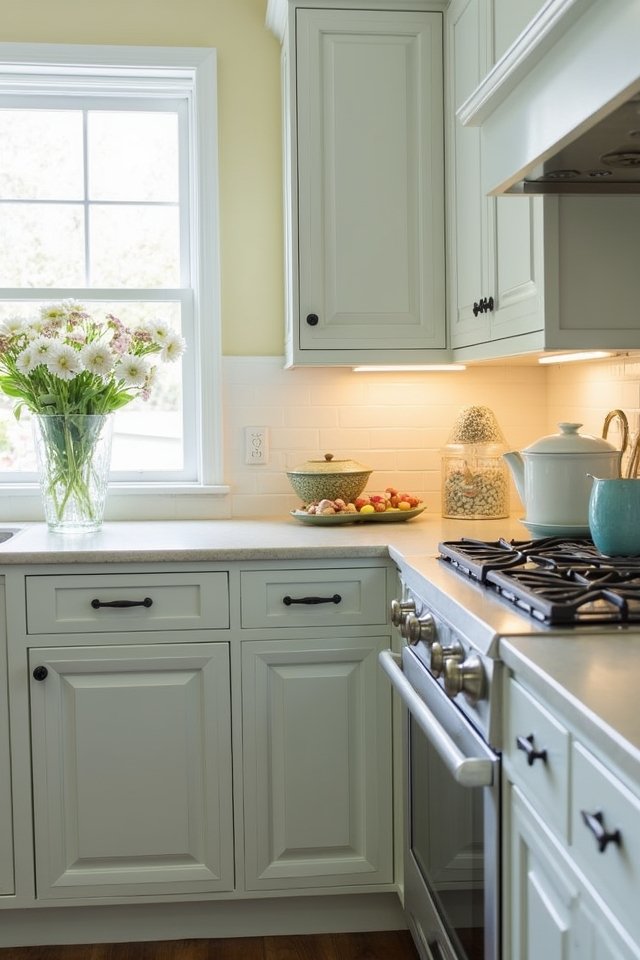
When it comes to painting kitchen cabinets, the right paint makes all the difference! You want a finish that’s not just pretty but also durable. Think of your cabinets as a canvas — choosing a high-quality acrylic latex paint is like selecting luxurious colors for an art masterpiece! It allows for vibrant hues and resists wear and tear beautifully. And don’t forget about sheen! A satin or semi-gloss finish adds a touch of sparkle, making your kitchen shine like a sunlit morning. You might also consider chalk paint for that vintage flair. Just imagine transforming your cabinets into delicious confections, waiting to tantalize your guests! So, release your creativity, pick wisely, and give those cabinets the stylish makeover they deserve!
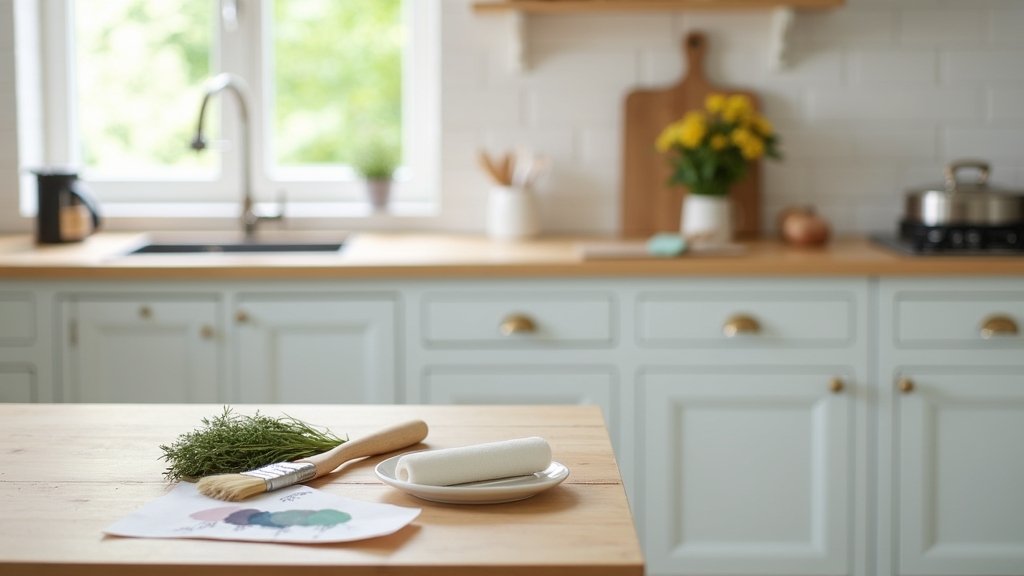
Gather Essential Tools and Materials
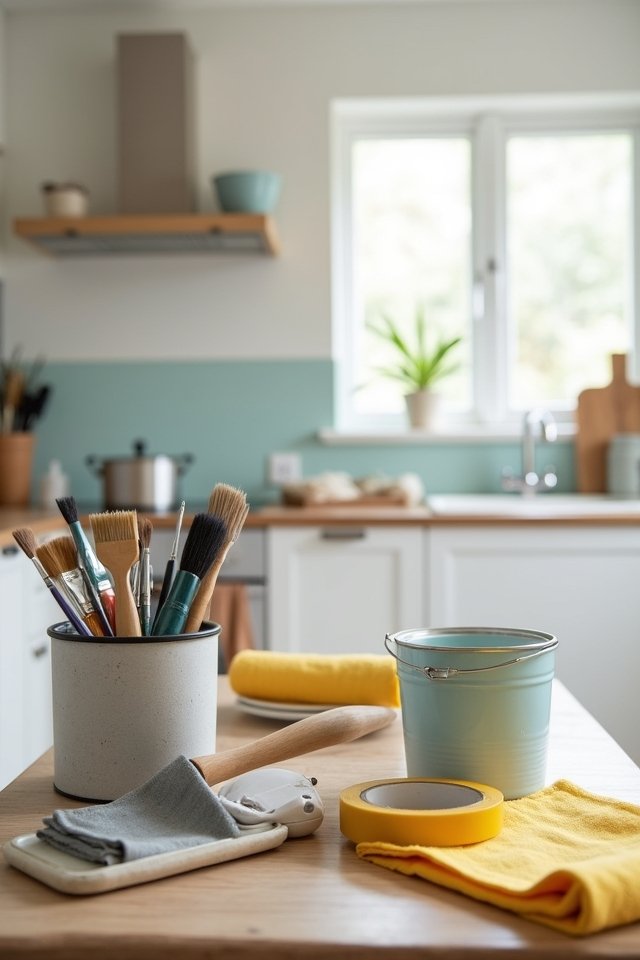
To kick off your kitchen cabinet painting adventure, you’ll need to gather some essential tools and materials. Think of this as assembling your creative toolkit! You’ll want high-quality paint (trust me, it’s like the magic wand of transformation), a sturdy brush for sharp edges, and a smooth roller for those big flat surfaces. Don’t forget a paint tray to catch those drips—it’s a real life-saver! A sanding block? Absolutely essential for achieving that sleek finish, like polishing a gem! Grab some painter’s tape to keep things tidy, and wear gloves to protect your hands—let’s avoid any accidental tie-dye moments! With these tools in hand, you’re all set to create your masterpiece. Now, let’s roll!
Prepare Your Cabinets: Cleaning and Deglosser
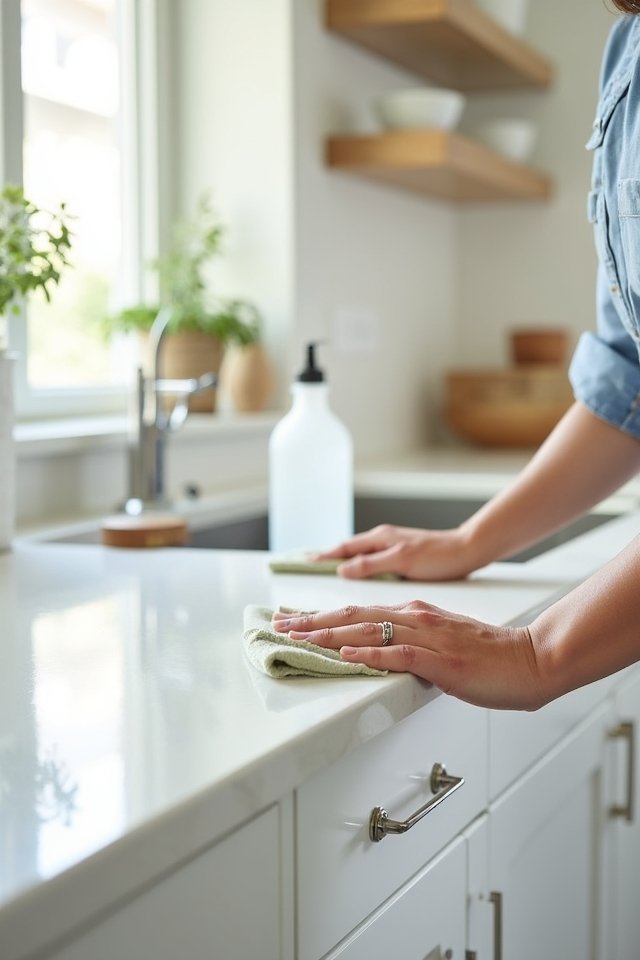
Now that you’ve got your toolkit ready, it’s time to give those cabinets some love! Start by removing dust and dirt with a trusty microfiber cloth; think of it as a spa day for your cabinets. Next, grab your deglosser – this little powerhouse will help you banish that glossy finish, making paint stick like magic! Apply the deglosser with a soft cloth, and watch it transform your cabinets into a painting canvas. Don’t forget to rinse with clean water after, or your paint may end up like a fish out of water! Trust me, you want that solid base for the amazing overhaul ahead. Your cabinets are about to become the envy of the kitchen! Let’s get this transformation rolling!
Remove Cabinet Doors and Hardware
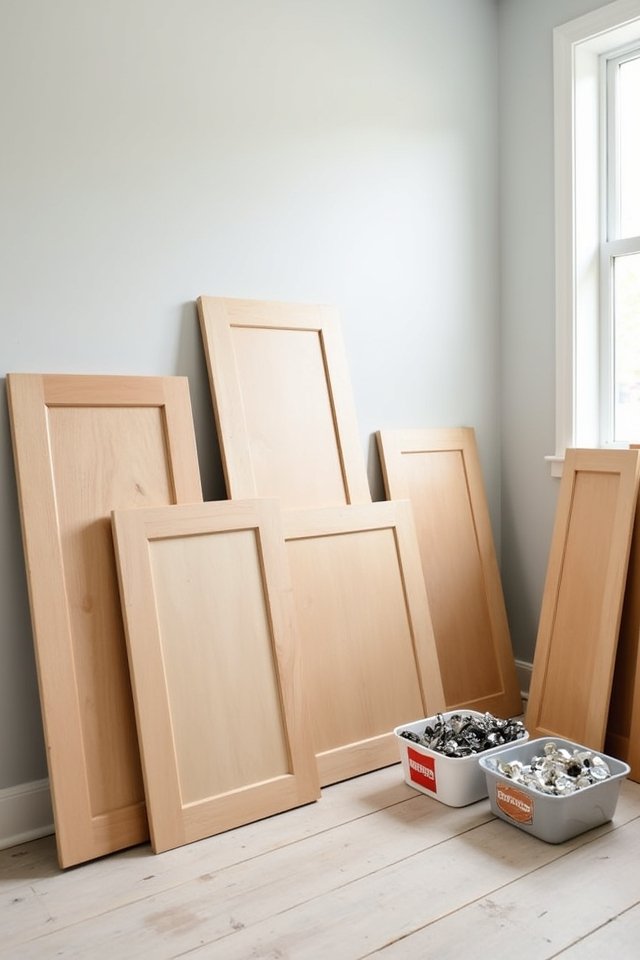
Ready to plunge into the world of cabinet transformations? First things first, let’s remove those cabinet doors and hardware! Imagine this: a fresh canvas waiting for your genius touch. Start by unscrewing the knobs and hinges—make sure to keep these screws in a labeled baggie. You don’t want a treasure hunt when reassembling! Next, gently lift off the doors, feeling like a pro artist revealing a masterpiece. Maybe throw in some dramatic swirls as you do this. Don’t forget to grab drawer fronts too! Trust me, doing this opens up a world of possibilities—the paint can reach every nook and cranny. So, roll up those sleeves, and let’s get this kitchen makeover party started!
Sanding: The Key to a Smooth Finish
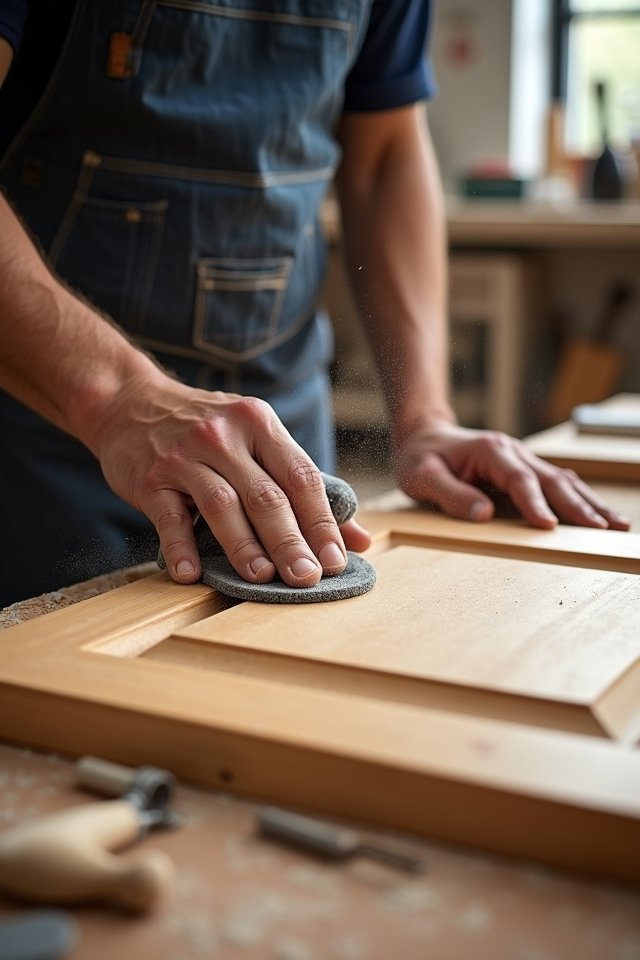
After you’ve expertly removed those cabinet doors and hardware, it’s time to grab your sanding block and channel your inner DIY guru! Sanding is like giving your cabinets a miniature spa day, smoothing out imperfections and creating an inviting, silky-smooth finish. Start with medium-grit sandpaper, gently working in circular motions, as if you’re massaging away their worries. Don’t rush, this step is vital! You want to eliminate any old paint remnants, which can be as stubborn as a cat on laundry day. Once you’ve highlighted every nook and cranny, switch to fine-grit sandpaper for that final touch! Trust me, your newly painted cabinets will thank you later! Ready to roll up those sleeves and get sanding? Let’s do this!
Prime for Perfection
While you might be itching to dive straight into the fun part of painting, don’t underestimate the power of a good primer! Think of primer as your cabinets’ magic shield, readying them for a fabulous paint makeover. It fills in those tiny imperfections, making the surface smoother than a jazz melody. Plus, it helps your paint stick like a kid to candy, preventing those pesky chips later on! You’ll want to choose a high-quality, water-based primer for easy cleanup and minimal odor—yes, your lungs will thank you! Apply it evenly with a foam roller or brush, and let it dry completely before moving on. Trust me, this step could be the difference between “wow” and “meh.” Ready to shine?
Apply Paint With the Right Technique
Grab your brush or roller and let’s get to painting those cabinets! The first stroke is thrilling, isn’t it? Start by applying thin, even coats, moving in long strokes like you’re whisking away worries. Don’t overload your brush; less is definitely more here! If you’re using a roller, think of it as a gentle dance across the surface. Remember to work from top to bottom to catch drips before they become rogue waterfalls. Oh, and don’t forget those tight corners—use a small brush for precision, like an artist painting fine details on a masterpiece! Allow each coat to dry completely before adding another, because patience truly makes perfect! So, gear up for your cabinet transformation adventure!

Consider Your Finish: Satin, Gloss, or Matte
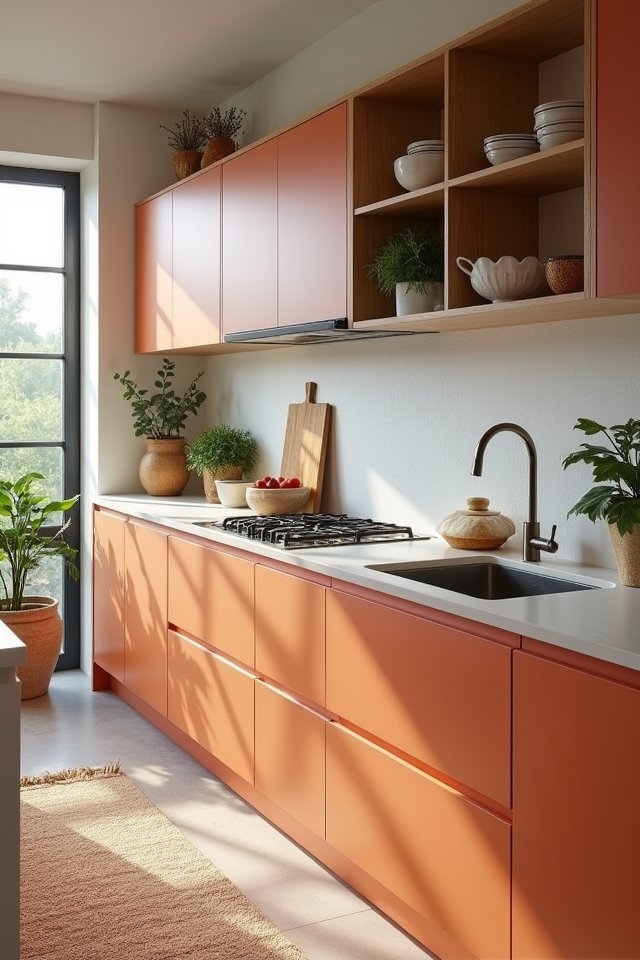
Which finish will make your kitchen cabinets sing—satin, gloss, or matte? Each choice transforms your space in unique ways, so let’s explore!
- Satin: This finish boasts a soft sheen, making it perfect for a warm, inviting look.
- Gloss: On the flip side, gloss shines like a superstar, reflecting light to brighten your kitchen; it’s durable, too!
- Matte: Going for a chic vibe? Matte delivers a modern touch without drawing too much attention.
- Choosing: Consider the style of your kitchen and your personal flair.
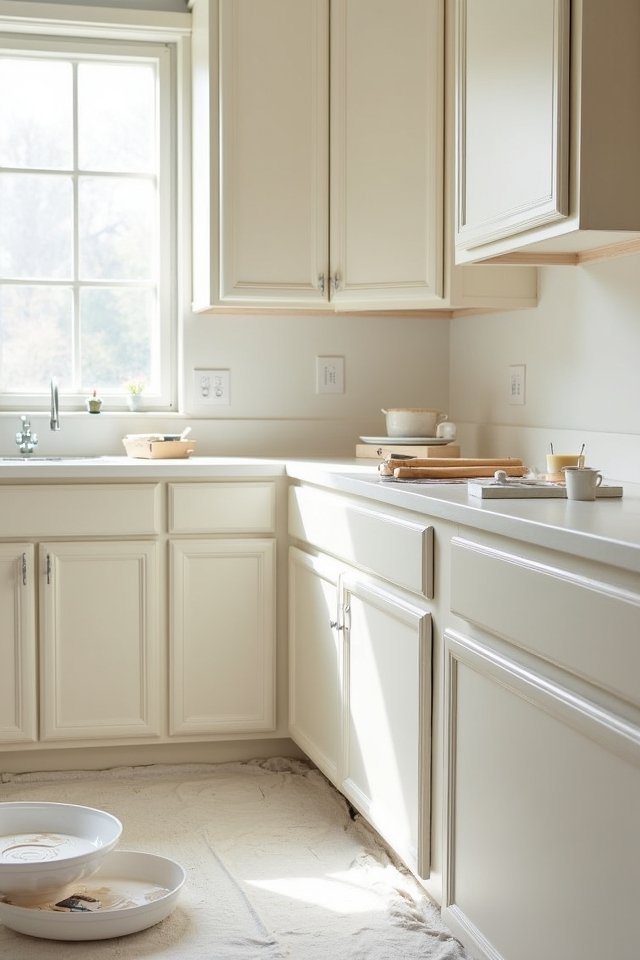
Allow Proper Drying Time
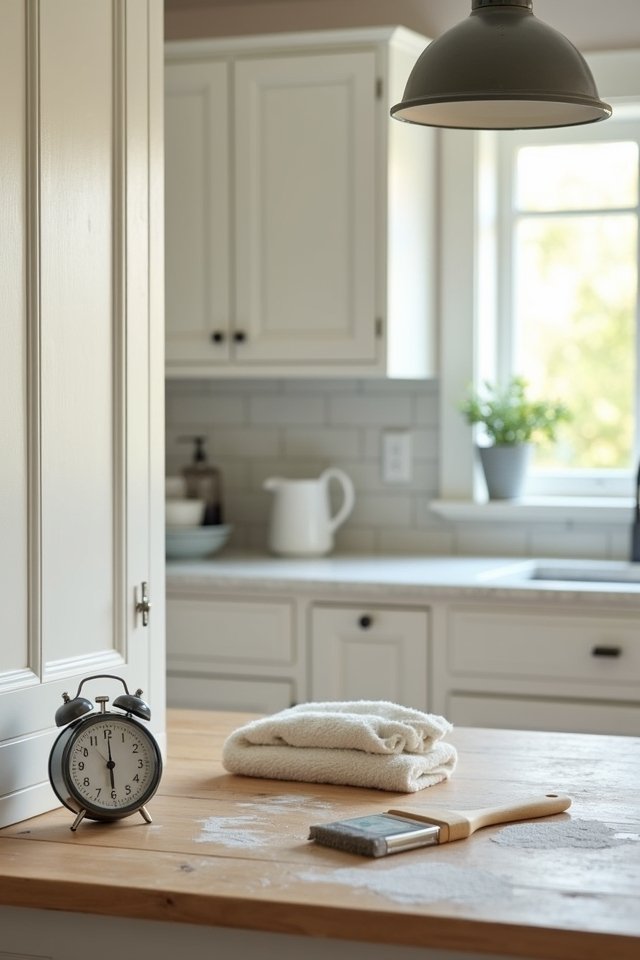
You’ve just finished painting your kitchen cabinets, and they look fabulous! But wait—before you start admiring your masterpiece, you need to let those beauties breathe! Proper drying time is the unsung hero of this process. If you rush it, your stunning work of art could end up with smudges or scratches that make you cringe. Think of it like giving the paint a cozy nap—24 hours is ideal for latex paint, while oil-based might need up to 48. Place your cabinets in a well-ventilated space, away from dust and sneaky kitchen critters. And resist the temptation to touch! Just imagine: crisp, flawless cabinets waiting to dazzle your guests. Trust me, patience here pays off tremendously!
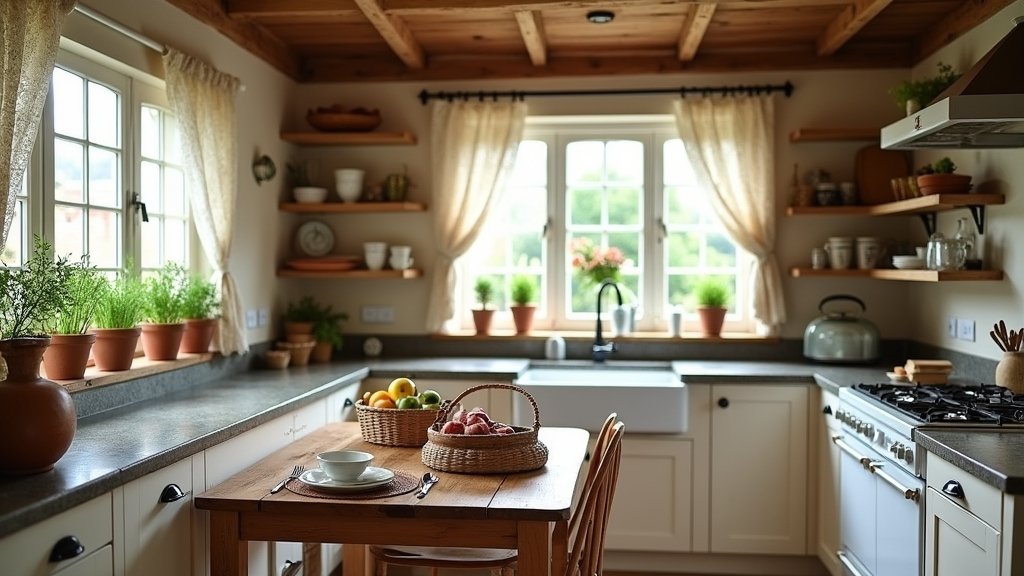
Reassemble and Enjoy Your New Look
Now that your cabinets have had their beauty sleep, it’s time to bring them back into the spotlight! Reassembling them is like putting the final touches on a masterpiece. Get ready to bask in the glory of your hard work!
Follow these steps to guarantee a seamless reassembly:
- Gather all your hardware and tools—screws, hinges, and a trusty screwdriver.
- Start with the doors; align them carefully to avoid any awkward gaps.
- Attach the knobs or pulls, guaranteeing they’re snug and stylish.
- Step back, admire your work, and visualize your new kitchen vibes!
You’ll feel like a design magician. Don’t forget to whip out your signature dish for a grand reveal! Enjoy your gorgeous, reinvented kitchen!
Frequently Asked Questions
How Long Will the Entire Cabinet Painting Process Take?
Envision this: It’s a Saturday morning, and you’re ready to transform your kitchen! The cabinet painting process usually takes a couple of days. You’ll spend a few hours prepping those beauties—cleaning, sanding, and priming. Then, you’re on to the fun part: painting! After that, you’ve gotta let them dry (about 24 hours). So, buckle up! You’re looking at a full weekend project that can add so much flair to your home! Happy painting!
Can I Paint Cabinets Without Removing Them?
You can paint your cabinets in place, and it’s easier than you think! Just think of it like giving your kitchen a quick face-lift. Clean them well and use painter’s tape for crisp edges. A good quality paintbrush will help you dance around those corners. Sure, it may not be as tidy as removing them, but hey, who doesn’t love instant results? Just imagine how fresh your kitchen will feel!
What Should I Do if I Mess up the Paint?
Uh-oh! Messed up the paint? Don’t panic; it’s just a canvas waiting for your magic! First, assess the situation. If it’s a drip or a streak, sand it down gently and repaint. For larger blunders, strip the paint back, then start fresh with patience. Remember, every artist has their oops moments, right? Think of it as a plot twist in your DIY saga! Welcome the fix; it’s all part of your creative journey!
How Often Should I Repaint My Kitchen Cabinets?

You should repaint your kitchen cabinets every 5 to 7 years, unless they’re struggling under the weight of too many culinary adventures! Just imagine vibrant colors getting chipped or dulled. If they start looking tired, don’t wait! Fresh paint’s like a new pair of shoes—exciting and instantly updating your space. Keep an eye on wear and tear. If you’re craving a change, go for it! Your kitchen deserves a fabulous makeover!
Will Painting Cabinets Affect Their Longevity?
Painting your cabinets can feel like giving them a rejuvenating spa day! When done right, it actually boosts their longevity. Just think of that gleaming finish, protecting against dings and scratches! Proper prep, using quality paint, and sealing those edges can work wonders. After all, wouldn’t you want your cabinets to shine like stars in your culinary universe? Avoid cheap paints, though; they’ll fade faster than your favorite pizza! Keep those cabinets pristine!